While I value self hosting for the learning value, I also see a benefit of looking across the table to solutions that may be externally hosted, but are good to know and use not only because of their use in the business world, but also because having a reliably third party service e.g. for (backup-)access, messaging and monitoring can greatly simplify ones infrastructure. And since these services know their value to large scale businesses, they often provide free usage tiers to small users.
Recently I alreadt described how I am using the service fly.io to host my public status page and monitoring and Telegram to deliver important notifications to me. But two other services that luckily are free despite the great value one can get from them are Cloudflare for their DNS and other services and SendGrid to make sure that important email notifications also arrive to external recipients.
Using Cloudflare for DNS also has the additional benefit that one can retrieve Let’s Encrypt certificates via DNS verification, which makes it a lot easier to retrieve valid certificates for otherwise not directly public services. And while the Cloudflare setup is not really complex, I still want to show here how you can configure your existing domain name, to be served through Cloudflare. Just recently Cloudflare also added the possibility to directly purchase domains through them. Since I usually purchase my domains from Domain-Offensive I am using their control panel for some screenshots.
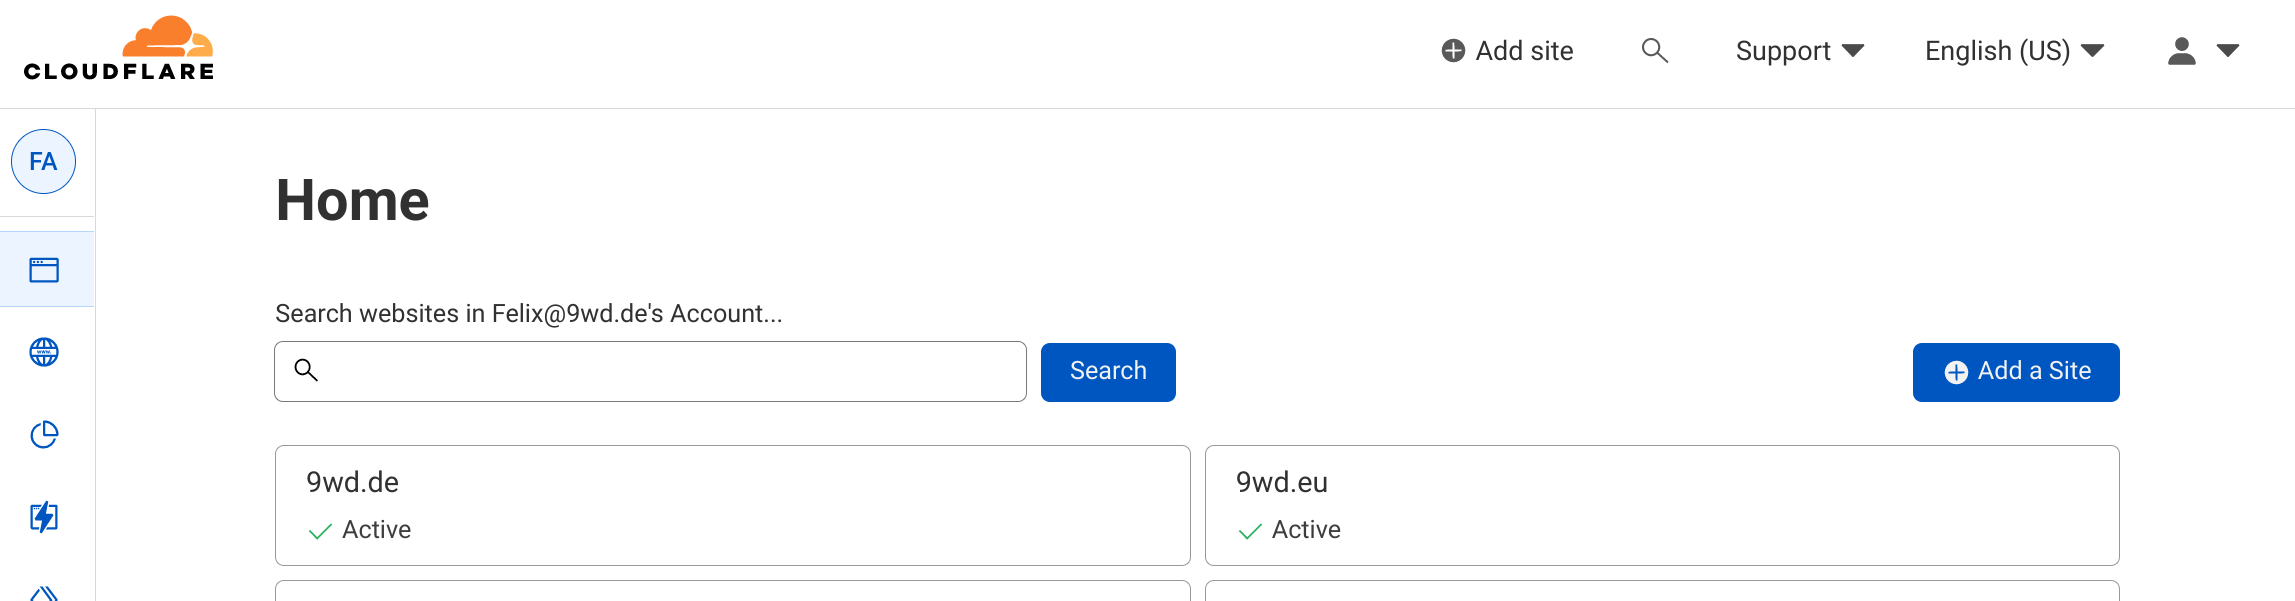
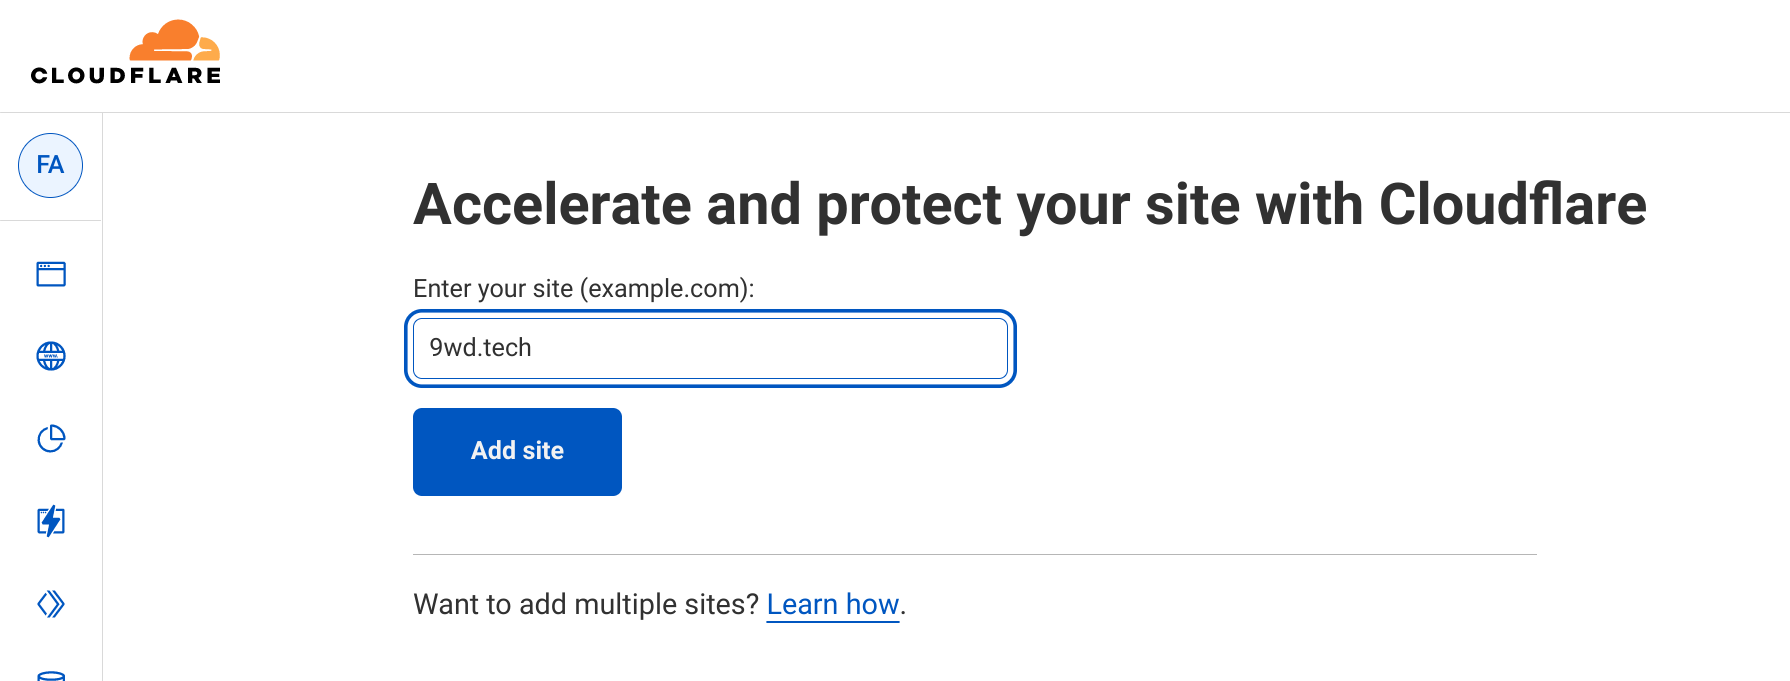
Within Cloudflare you simply have to follow the “Add site” or “Add a Site” links in your dashboard.
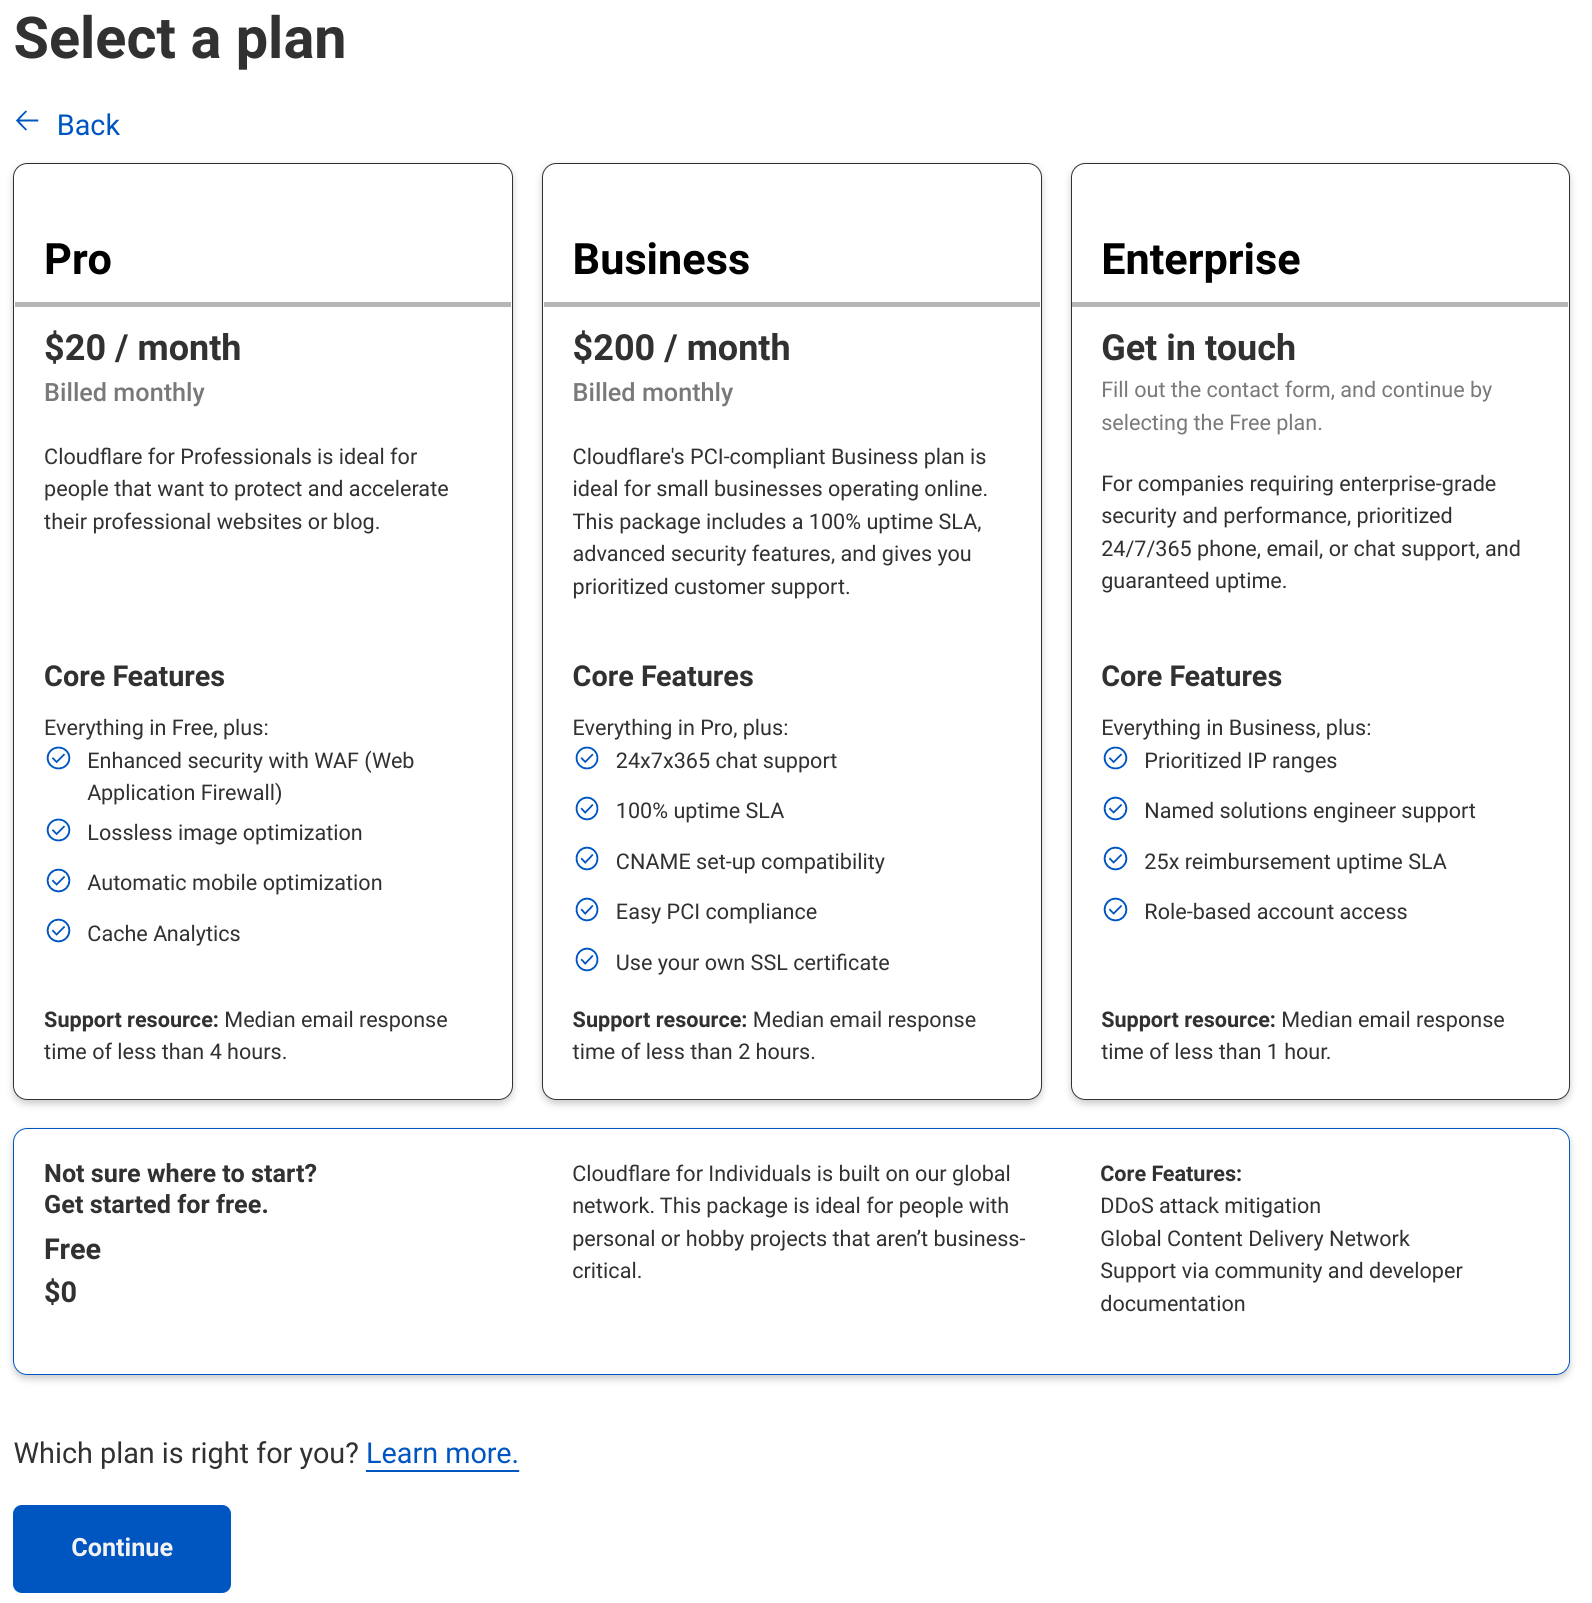
On the “select a plan” part of the process you need to scroll to the bottom to select the free plan.
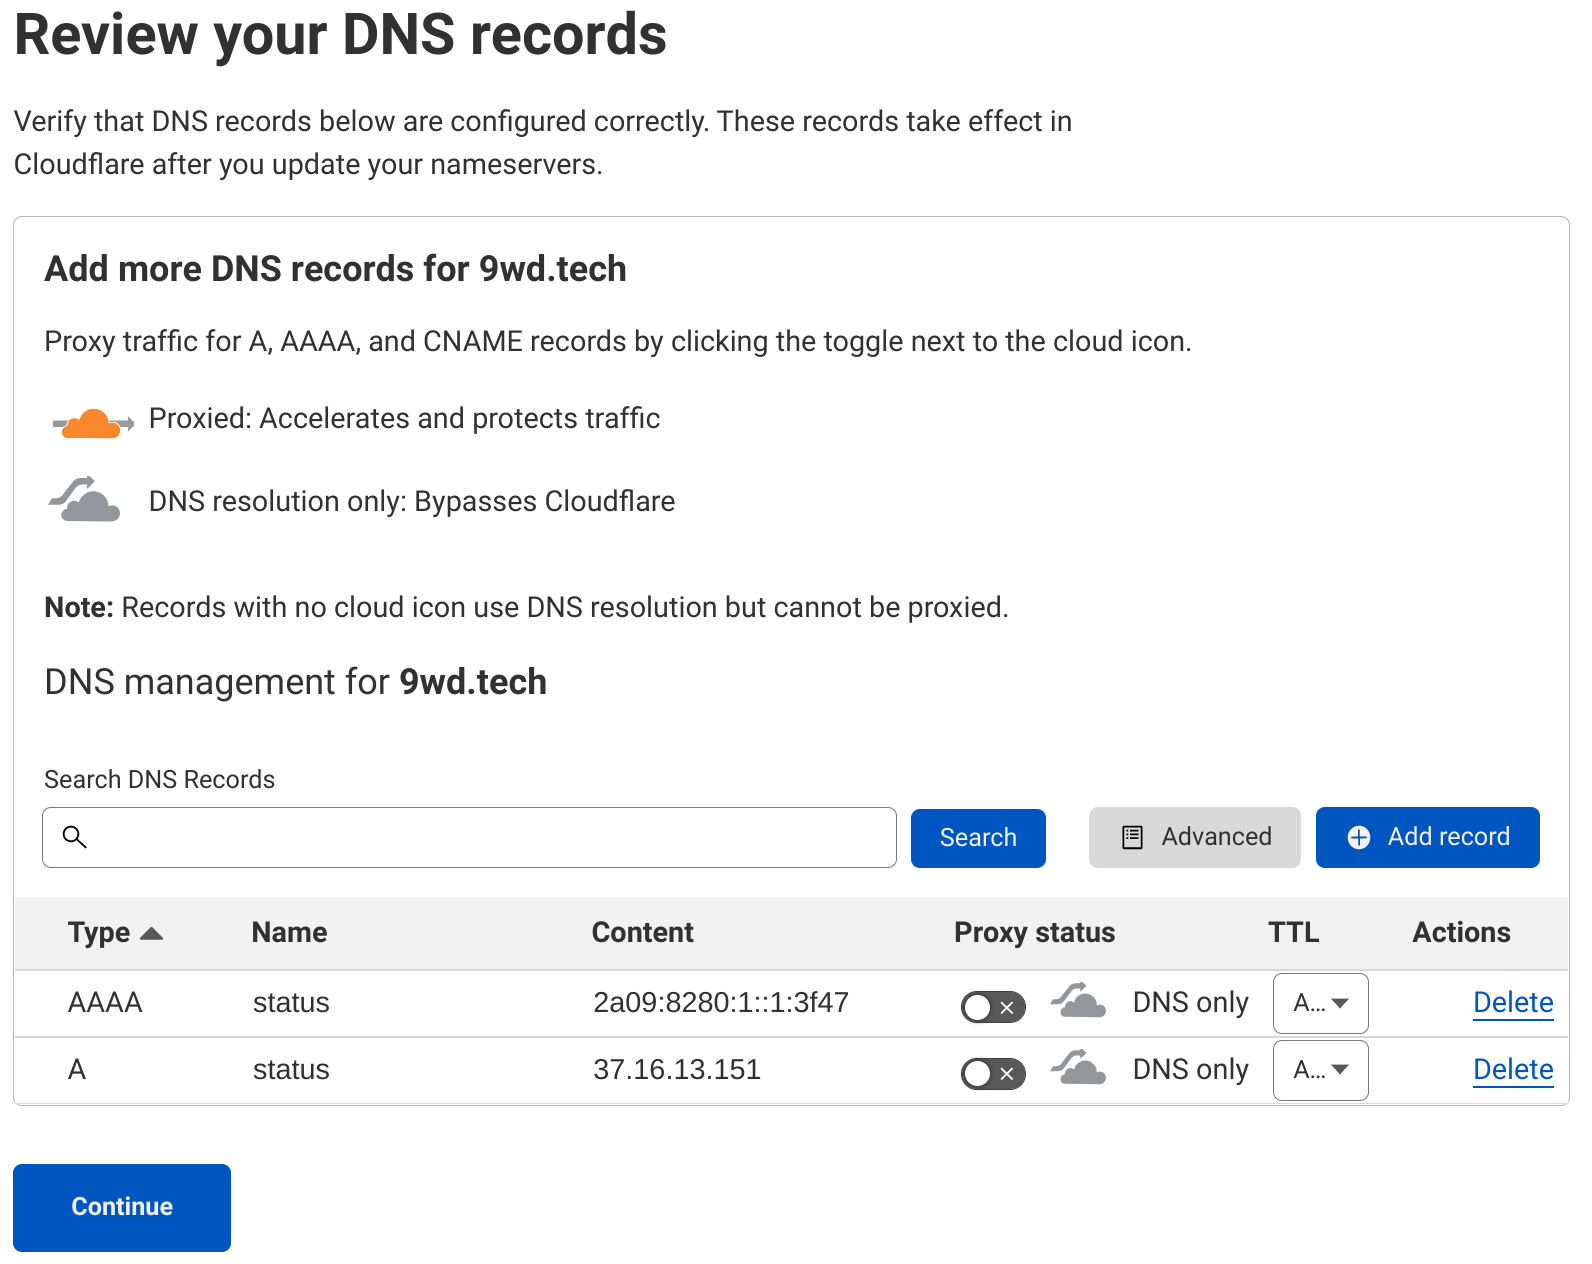
If the given domain has been in use before Cloudflare will scan and import existing entries. For my domain I already specified the status subdomain, which points towards fly.io.
And now the time has come to update the authorative name servers for your domain. Cloudflare hosts a number of different nameservers, so its important to follow the instructions Cloudflare provides.
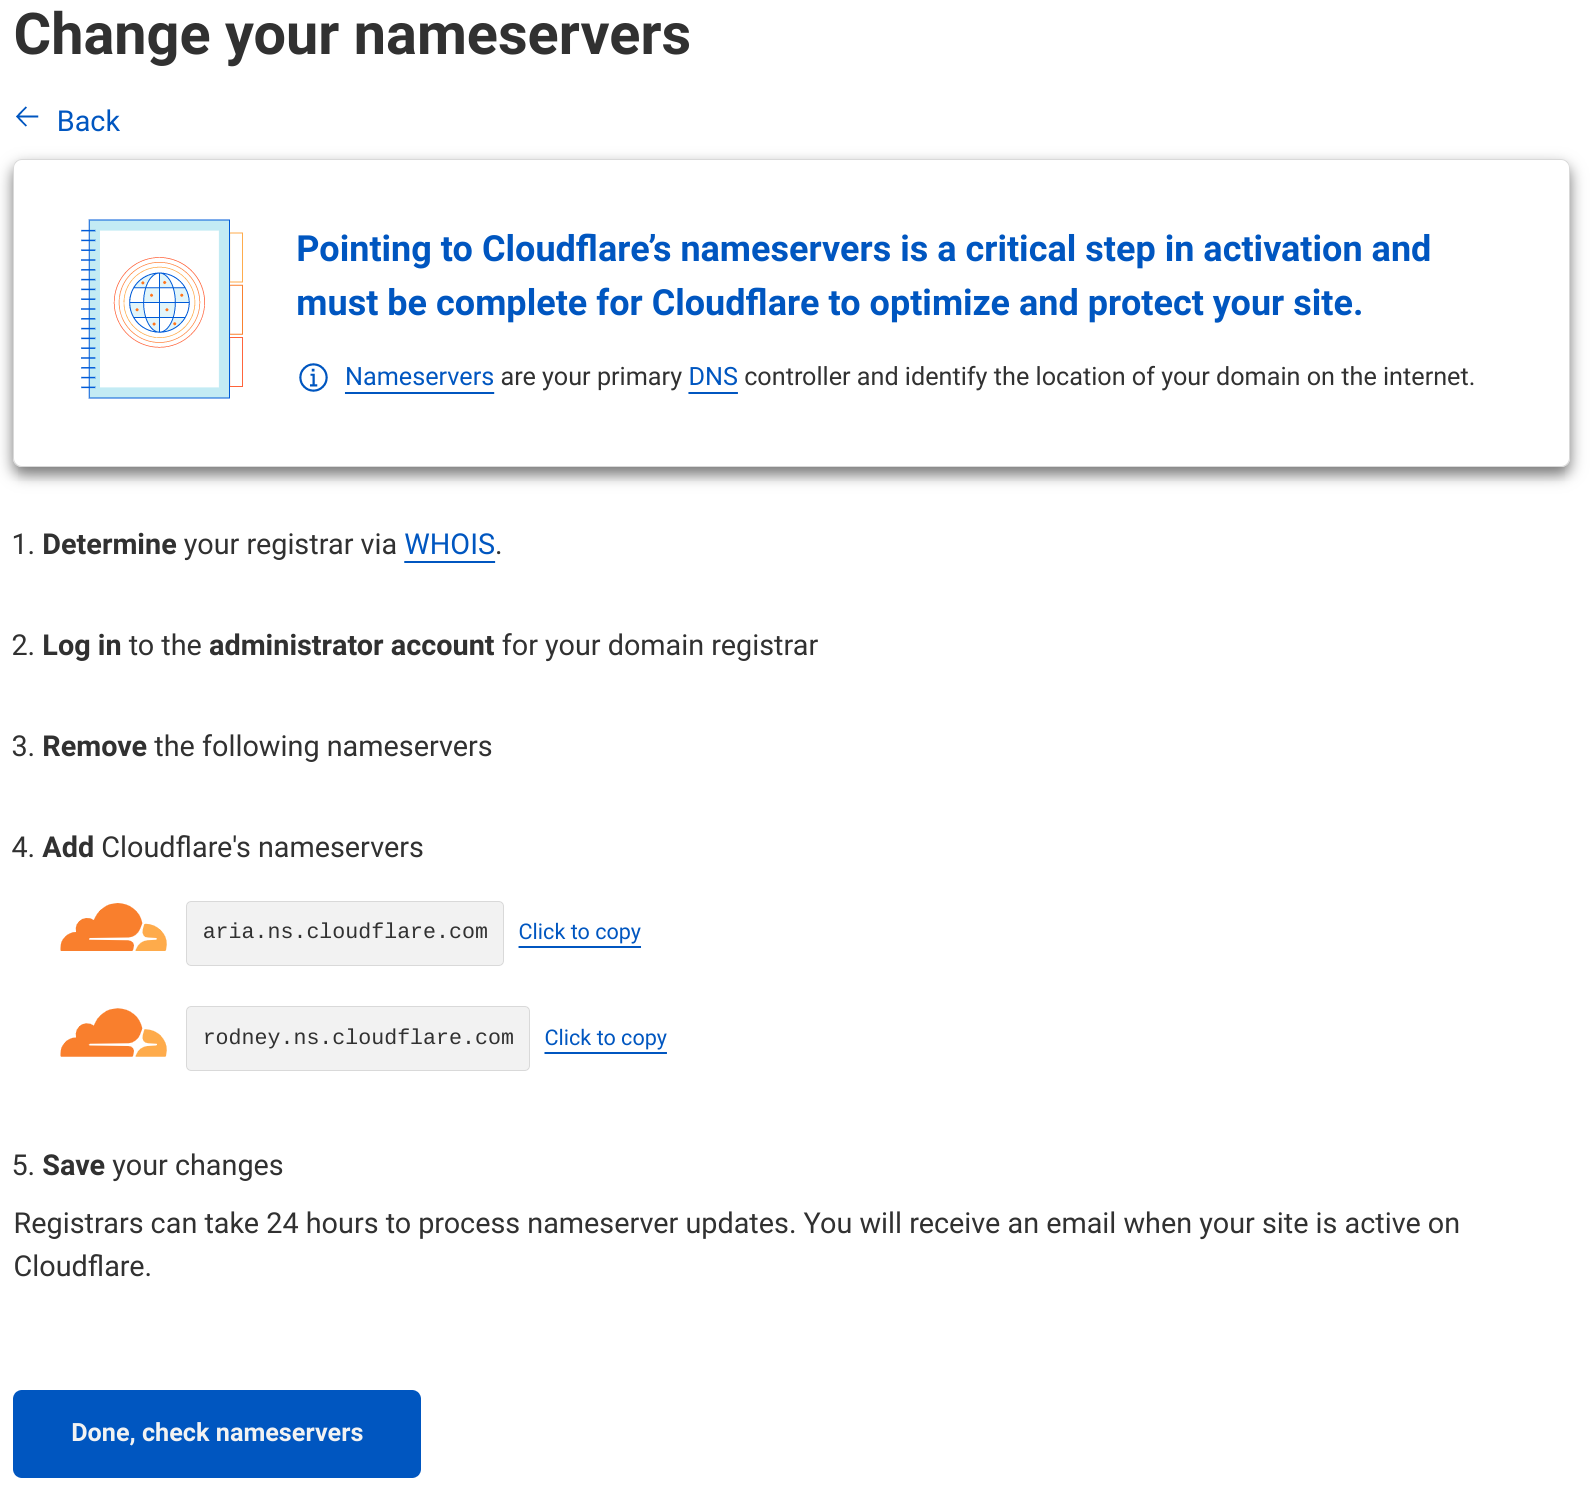
Within the Domain-Offensive the setting that needs to be changed is called “Eigener Nameserver”.

After submitting the nameserver details Cloudflare offers to take a “quick start guide”, but I am going to skip this. Don’t worry Cloudflare will still offer it for this domain later on.
And now we need to wait until the nameservers have been updated. Time to take a break.